It is possible to export one or more dynamic versions of an app and import it into another MobileCaddy installation, this guide will cover the steps between the export and import.
- To start, ensure you are in the Startup Tab. Choose “Export Full App or Single DV”

- Select the latest document structure you wish to export using the drop down list.
- Click “Select” Under the “Select Mobile Application” heading tick the app you want to export.
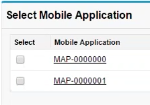
- Click “Select”
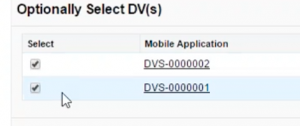
- Tick the boxes next to the according Dynamic Versions you want to export. This is under the heading listed as “Optionally Select DV’s”.
- Select “Export Selected DV’s”, shortly after, a message will then appear on screen.
- Select “Continue”
- A page will be displayed containing a summary of the export, select “Continue”.
- The IFK page will be displayed. Select “Continue”
- The document should have successfully been created, hence, a confirmation message should appear.
- Click on “Home” and go to “Setup” to find the queued job.
- Search for “apex jobs”, here you can see the status of the job.
- Click on the “All Tabs (+)” button and go to “Documents”.
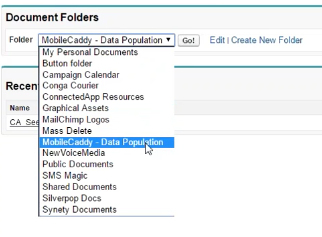
- Select “MobileCaddy – Data Population” in the “Folder” drop down list under the Document Folders heading and click “Go!”
- Select the relevant document. This will take you to a page displaying the document detail.
- Right click on the “View file” link and choose “Save as” to save the file locally.
- Switch over to the targeted organisation, the place you want to import your document to. From here click on “Startup”.
- Click on “All tabs(+)”, then select “Documents”.
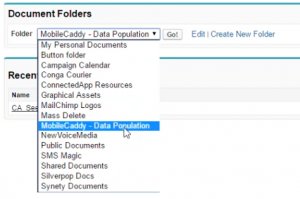
- Next, using the folder drop down list, choose “MobileCaddy – Data Population”
- Select the “New Document” button.
- Fill out the details accordingly.
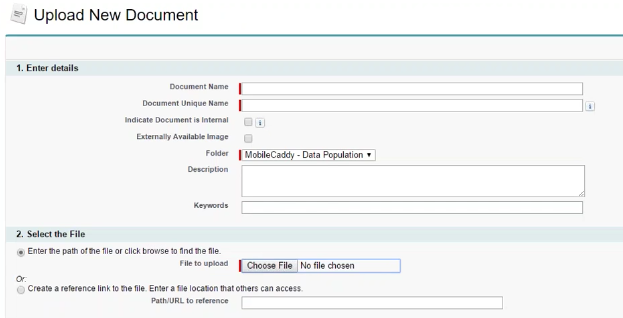
- Select choose file, and select the file that was previously saved.
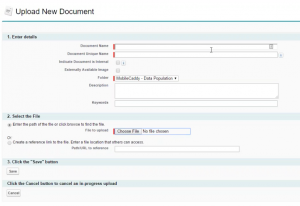
- Click “Save”. The document is now in the destination org.
- Click on startup and select create/install mobile application button. Fill out the details accordingly.
- Set the “User Provisioning” drop down list to “All users”.
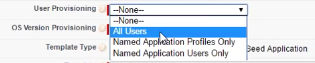
- Set “OS Version Provisioning” to “Any OS Version”.
- For the template type, choose “Seed Application”.
- Choose the relevant template on the drop down list.
- Select “Save”.
- Message should appear confirming it is being created in the background.
- Go to setup, search for apex jobs to see the status of the job.
- Click “Startup”. The new app is under the mobile applications heading.
- Click on the new applications’ record to see further details.
Next we need to migrate the VisualForce pages and Static Resources that form the basis of the logic and UI of our application.
As an initial guide these fall into the following Categories:
- App Start Page – this is a VisualForce Page which will be called YourApp_XXX (for example YourApp_001 – where ‘YourApp’ is the name of the application you defined in Codeflow and ‘001’ is the Version that was set in the package.json – in this case ‘0.0.1’).This page is auto-created during the CodeFlow deployment process (not this is updated via the apex local template – pls ensure if you have added 3rd Party Libraries that these have been added correctly).
- App Cache Page – this is a VisualForce Page which will be called YourAppCache_xxx (for example YourAppCache_001 – where ‘YourAppCache’ is the name of the application you defined in Codeflow and ‘001’ is the Version that was set in the package.json – in this case ‘0.0.1’).This page is auto-created during the CodeFlow deployment process and uses a build process to scan your www directory to ensure all assets are noted in the cache correctly. This page is then referenced as the manifest for the Start Page above (this is all automatic).
- App Static Resource – this is a Static Resource which will be called YourApp_xxx (for example YourApp_001 – where ‘YourApp’ is the name of the application you defined in Codeflow and ‘001’ is the Version that was set in the package.json – in this case ‘0.0.1’).
- There are also the following MobileCaddy Static ResourcesMockCordova
Cordova
MC_Resource (this is to match the version that is specified and used in the CodeFlow build process)